Table of Contents
Decadent Espresso Cheesecake Recipe for Coffee Lovers – Silky, Rich & Foolproof with a Water Bath Secret
I’ll never forget the first time I combined two of my greatest loves—espresso and cheesecake. It was a rainy afternoon in my tiny Paris apartment, and I had just finished a pastry class on bain-marie baking. Back then I was a student at Le Cordon Bleu, and I kept thinking about how the same water bath technique that gave French cheesecake its silky texture could transform a dense American-style cheesecake into something ethereal. This Decadent Espresso Cheesecake is the result of that obsession. The rich, bold espresso cuts through the creamy sweetness, and the water bath ensures a crack-free, velvety finish every time. It’s a dessert that feels both luxurious and approachable—exactly the kind of recipe I love sharing from my NYC kitchen.
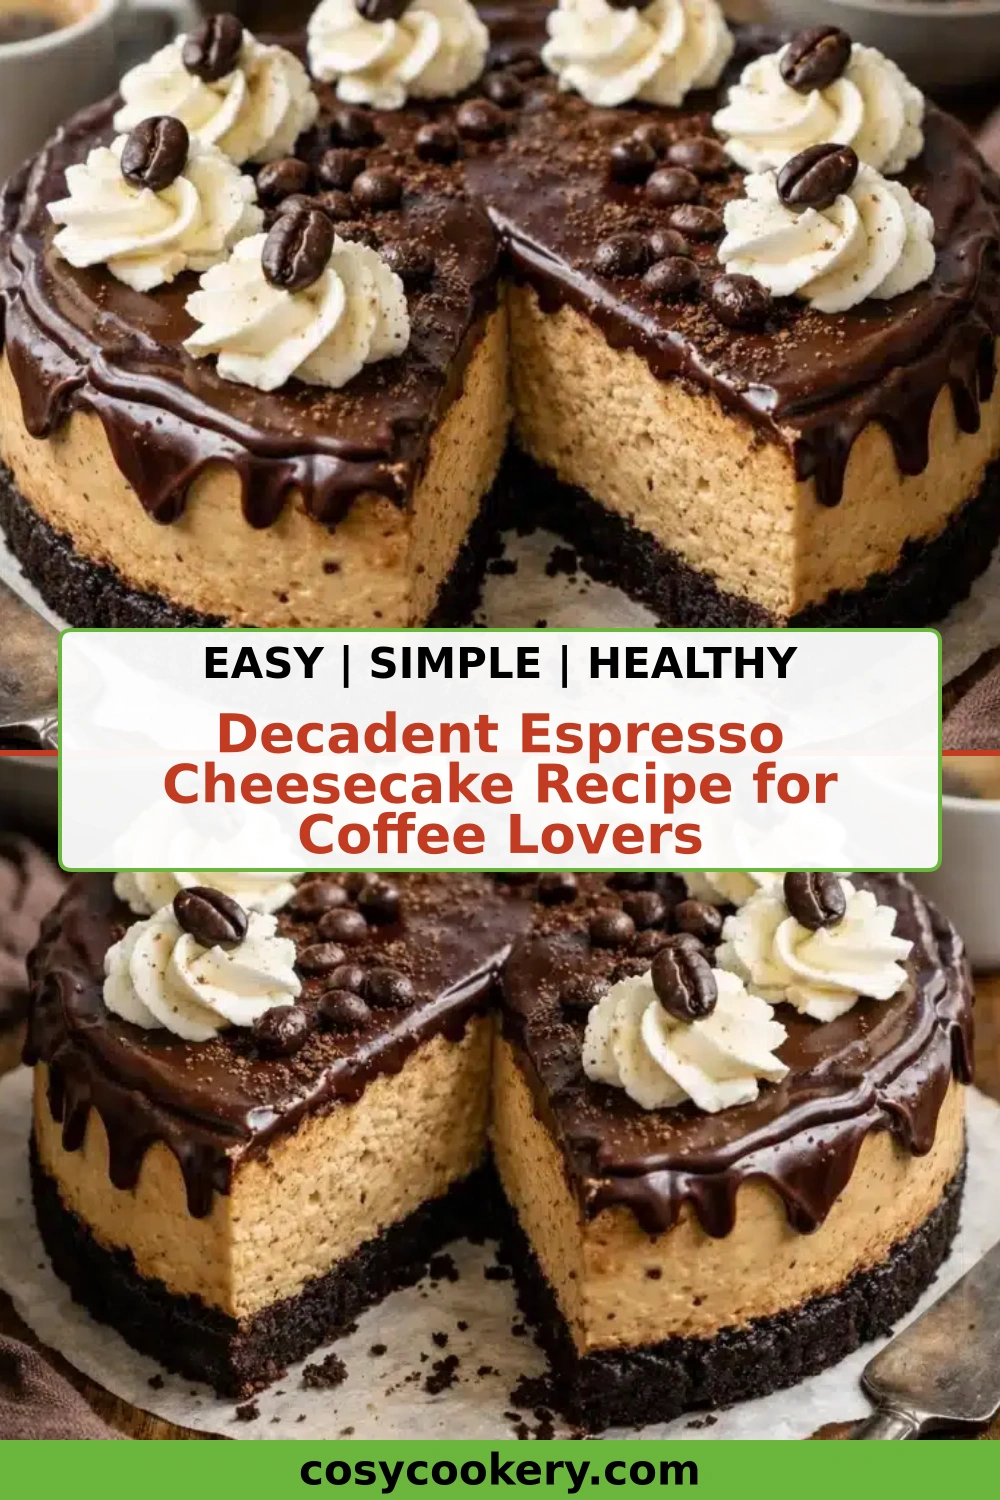
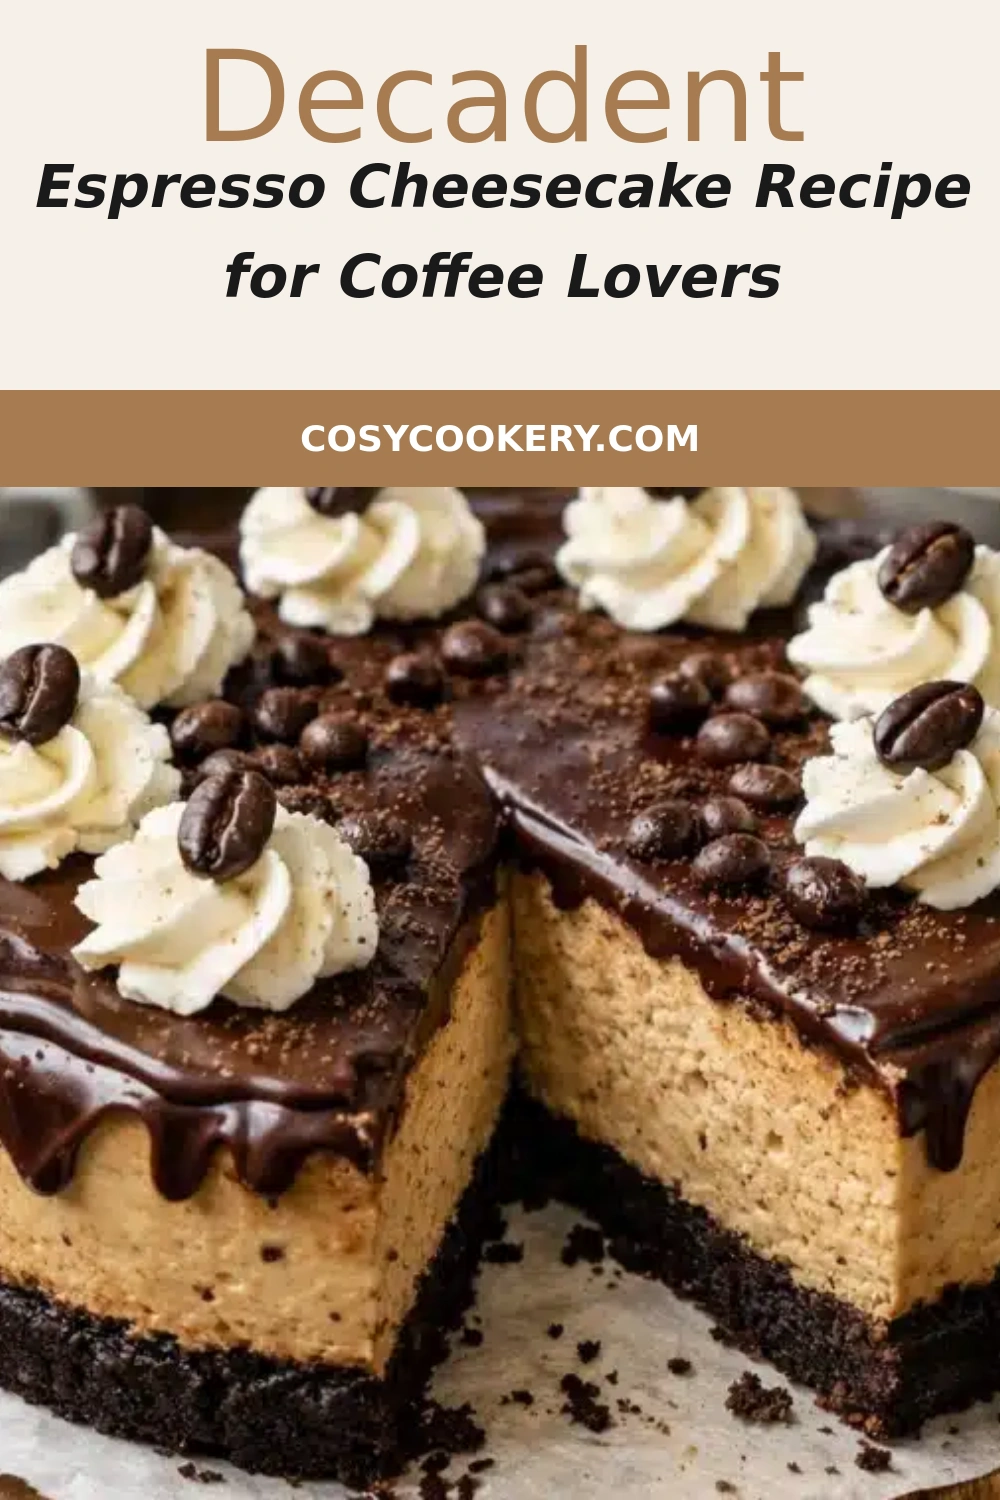
Imagine slicing into a cheesecake that releases a cloud of coffee aroma—like your favorite café in dessert form. The first bite is pure silk: a creamy, tangy filling infused with double-strength espresso, balanced by a buttery chocolate cookie crust that crumbles just so. The water bath creates a delicate, almost mousse-like texture, while the espresso adds depth without bitterness. I always finish it with a light dusting of cocoa and a few chocolate-covered espresso beans. It’s the kind of dessert that makes you close your eyes and savor each mouthful.
What makes my version different? I spent years tweaking the ratios—too much espresso and the cheesecake splits, too little and it’s just another plain cheesecake. I also use a combination of cream cheese and mascarpone for extra creaminess, and I pre-bake the crust to keep it crisp. The water bath is non-negotiable: it’s the secret to a professional finish. In this post I’ll share my 💡 Olga’s Pro Tip for preventing water from seeping into the springform pan, plus a ⚠️ Common Mistake to Avoid that even experienced bakers make. By the end, you’ll have a showstopping espresso cheesecake that rivals any NYC bakery.
Why This Decadent Espresso Cheesecake Recipe Is the Best
The Flavor Secret – Growing up in Morocco, my mother always added a pinch of cinnamon to her coffee. I bring that North African warmth here by infusing the cream cheese mixture with a touch of cinnamon and vanilla. The espresso itself is crucial: I use freshly pulled shots from a local NYC roaster (or very strong instant espresso dissolved in hot water). The result is a deeply aromatic, not overpowering coffee flavor that lingers beautifully.
Perfected Texture – My French training taught me that low and slow heat with moisture is the key to a silky custard. That’s why I bake this cheesecake in a water bath. I also let all dairy come to room temperature before mixing—this avoids lumps and ensures a homogenous, airy batter. The final texture is dense yet creamy, with a slight jiggle in the center when you take it out of the oven.
Foolproof & Fast – I’ve streamlined the process so even beginners can succeed. The recipe uses a food processor for the crust (easier than rolling out dough) and a stand mixer for the filling. I break the baking into two stages: first the crust is pre-baked, then the filling is baked at a lower temperature. This prevents the rim from over-browning and ensures the center stays tender. With my detailed visual cues, you’ll know exactly when it’s done.
Decadent Espresso Cheesecake Ingredients
When I shop for ingredients at Union Square Greenmarket or my local Whole Foods, I always look for the freshest dairy and high-quality espresso. One of my fondest memories is visiting a spice shop in the Marais district of Paris and discovering how a tiny bit of cardamom can elevate a dessert—I sometimes add a pinch here for extra complexity. Below is everything you need.
Ingredients List
- 1 ½ cups (150g) chocolate wafer cookie crumbs (about 20 cookies)
- ¼ cup (50g) granulated sugar
- 5 tablespoons (70g) unsalted butter, melted
- 2 pounds (900g) cream cheese, at room temperature
- ½ cup (120g) mascarpone cheese, at room temperature
- 1 cup (200g) granulated sugar
- 3 tablespoons all-purpose flour
- 4 large eggs, at room temperature
- 2 teaspoons vanilla extract
- 2 tablespoons strong espresso (or 2 teaspoons instant espresso powder dissolved in 2 tablespoons hot water)
- 1 teaspoon ground cinnamon (optional but lovely)
- ½ teaspoon salt
- Chocolate-covered espresso beans and cocoa powder for garnish (optional)
Ingredient Spotlight
Cream Cheese: This is the backbone of the cheesecake. Use full-fat block cream cheese—not the spreadable tub kind—for the best texture. I always let it sit on the counter for at least an hour to soften. If you only have low-fat, the cheesecake will be less creamy and may crack. Substitute: an equal amount of Greek yogurt (full-fat) for a tangier, slightly lighter result.
Mascarpone Cheese: A touch of mascarpone adds incredible silkiness and a subtle sweetness. It’s optional, but don’t skip it if you can find it. You can substitute with an equal amount of sour cream—just note the texture will be a bit tangier and less velvety.
Espresso: Freshly brewed espresso is ideal, but high-quality instant espresso powder works beautifully. I tested both at home—the instant version is convenient and still delivers deep coffee flavor. Avoid using regular coffee granules; they are too weak. For a milder coffee flavor, reduce the espresso to 1 tablespoon.
| Original Ingredient | Best Substitution | Flavor / Texture Impact |
|---|---|---|
| Cream cheese (full-fat) | Neufchâtel cheese | Slightly lighter texture, less rich, still creamy |
| Mascarpone | Sour cream (full-fat) | More tang, less velvety |
| Chocolate wafer crumbs | Graham cracker crumbs + 2 tbsp cocoa powder | Slightly sweeter, less chocolate depth |
How to Make Decadent Espresso Cheesecake — Step-by-Step
Trust me, this recipe is easier than you think. Follow each step closely, and you’ll be rewarded with a stunning, creamy cheesecake that will impress even the toughest critics.
Step 1: Prepare the Crust
Preheat the oven to 350°F (175°C). In a food processor, pulse the chocolate wafer cookies until fine crumbs form. Add the sugar and melted butter; pulse until the mixture resembles wet sand. Press the mixture firmly into the bottom of a 9-inch springform pan. Use a flat-bottomed glass to get an even, compact layer. Bake for 10 minutes, then set aside to cool. 💡 Olga’s Pro Tip: To prevent the crust from getting soggy, brush the baked crust with a thin layer of melted white chocolate (about 2 oz) and let it set. This creates a moisture barrier.
Step 2: Make the Filling
In the bowl of a stand mixer fitted with the paddle attachment, beat the cream cheese and mascarpone on medium speed until smooth, about 2 minutes. Scrape the bowl well. Add the sugar and flour; beat on low until combined, then increase to medium for 1 minute. Beat in the eggs one at a time, mixing on low after each just until incorporated. Stir in the vanilla, espresso, cinnamon (if using), and salt. Do not overmix—overmixing incorporates too much air and can cause cracks. ⚠️ Common Mistake to Avoid: Adding cold eggs to the batter can seize the cream cheese, causing lumps. Always use room-temperature eggs.
Step 3: Assemble and Bake
Pour the filling over the cooled crust. Smooth the top with a spatula. Place the springform pan in a large roasting pan. Pour hot (not boiling) water into the roasting pan until it reaches halfway up the sides of the springform pan. Bake at 325°F (163°C) for 55–65 minutes. The edges should be set but the center should still jiggle slightly. Turn off the oven, crack the door open, and let the cheesecake cool inside for 1 hour. This gentle cooling prevents cracking. 💡 Olga’s Pro Tip: Wrap the bottom of the springform pan tightly with a double layer of heavy-duty foil before placing it in the water bath. This ensures no water seeps in.
Step 4: Chill and Serve
Remove the cheesecake from the water bath, discard the foil, and cool completely on a wire rack (about 1 hour). Then refrigerate, uncovered, for at least 4 hours, preferably overnight. When ready to serve, run a thin knife around the edges of the pan before releasing the springform. Garnish with a dusting of cocoa powder and a few chocolate-covered espresso beans. ⚠️ Common Mistake to Avoid: Cutting the cheesecake while it’s still warm will result in a messy, gooey slice. Always chill fully for clean cuts.
| Step | Action | Duration | Key Visual Cue |
|---|---|---|---|
| 1 | Pre-bake crust | 10 min | Crust is fragrant and lightly browned |
| 2 | Mix filling | 10 min | Smooth, no lumps, uniform color |
| 3 | Bake in water bath | 55–65 min | Edges set, center jiggly; top lightly golden |
| 4 | Cool in oven | 1 hour | Oven door cracked, cheesecake slowly firms |
| 5 | Chill | 4+ hours | Firm to the touch, clean knife when cut |
Serving & Presentation
This espresso cheesecake is a showstopper on its own, but the right accompaniments can elevate it further. I love serving it with a dollop of lightly sweetened whipped cream—its airy texture contrasts beautifully with the dense cheesecake. For an extra coffee kick, drizzle with a bit of espresso syrup (equal parts hot espresso and sugar, stirred until dissolved).
In Morocco, we often serve strong mint tea with sweets; here in NYC, I pair this cheesecake with a double espresso or a creamy cappuccino. For a special dinner party, add a few fresh raspberries on the side—their tartness cuts through the richness. The visual contrast of dark chocolate crust, pale filling, and bright berries is stunning.
| Pairing Type | Suggestions | Why It Works |
|---|---|---|
| Side Dish | Fresh berries, citrus segments | Bright acidity balances richness |
| Sauce / Dip | Caramel sauce, chocolate ganache | Adds indulgent sweetness |
| Beverage | Espresso, cappuccino, dark roast coffee | Enhances coffee flavor |
| Garnish | Cocoa powder, chocolate shavings, espresso beans | Visual appeal and textural crunch |
Make-Ahead, Storage & Reheating
As a busy mom and food blogger in New York, I rely on make-ahead recipes. This espresso cheesecake actually tastes better the next day—the flavors meld and the texture becomes even creamier. I often bake it two days before I plan to serve it.
| Method | Container | Duration | Reheating Tip |
|---|---|---|---|
| Refrigerator | Covered with plastic wrap or in an airtight container | Up to 5 days | Serve cold or let sit at room temp 15 minutes before serving |
| Freezer | Wrap tightly in plastic wrap then foil, or place in a freezer-safe container | Up to 3 months | Thaw overnight in the refrigerator; do not microwave |
| Make-Ahead | Assemble completely but do not bake; wrap well | 1 day in advance | Add 10 minutes to bake time if starting from cold |
I always slice the cheesecake into individual portions before freezing, so I can pull out one slice at a time when a craving hits. Just wrap each slice tightly. For reheating, I never microwave—it ruins the texture. Instead, let the slice sit at room temperature for about 20 minutes, or warm gently in a 300°F oven for 5–7 minutes if you prefer it slightly warm.
Variations & Easy Swaps
| Variation | Key Change | Best For | Difficulty Impact |
|---|---|---|---|
| Mocha Swirl | Add 2 tbsp melted dark chocolate to half the batter, swirl | Chocolate lovers | Medium |
| Toasted Almond | Replace ½ cup cookie crumbs with toasted almond flour | Nutty crunch | Easy |
| Dairy-Free | Use vegan cream cheese and coconut cream instead of mascarpone | Dairy-free diet | Medium (texture slightly different) |
Mocha Swirl
For a dramatic presentation, melt 2 ounces of high-quality dark chocolate and let it cool slightly. Pour the cheesecake filling into the crust, then drop spoonfuls of the melted chocolate on top. Use a knife to create swirls. This addition echoes the espresso-chocolate duo I fell in love with at a café in Montmartre. The result is a stunning marble effect and an extra layer of richness.
Toasted Almond Crust
Toast ½ cup of almond flour or finely chopped almonds until golden, then mix with the cookie crumbs and butter. This variation adds a warm nutty flavor that complements the coffee beautifully. It’s perfect for those who want a gluten-free option (use gluten-free cookies). Olga’s tip: toast the almonds in a dry skillet over medium heat, stirring constantly, until fragrant—about 3 minutes.
Dairy-Free Version
I’ve tested this with my vegan friends and it works surprisingly well. Use a high-quality vegan cream cheese (I like Miyoko’s or Violife) and replace the mascarpone with full-fat coconut cream (the thick part from a can of coconut milk). The texture is slightly less dense but still creamy. Omit the butter in the crust and use coconut oil instead. The espresso flavor remains bold. Bake at the same temperature but check for doneness at 45 minutes—vegan cheesecakes set faster.
Can I make espresso cheesecake without a water bath?
Yes, you can, but the texture won’t be as silky and you’ll have a higher risk of cracking. The water bath gently surrounds the cheesecake with moist heat, which prevents the edges from setting too quickly while the center finishes cooking. If you skip it, bake at 300°F instead of 325°F and place a pan of hot water on the rack below the cheesecake. This creates a makeshift steam oven. You can also use a silicone springform pan that distributes heat more evenly, but for the best results I always recommend the water bath method.
How do I keep my espresso cheesecake from cracking?
The main reasons cheesecakes crack are: overmixing the batter (which incorporates too much air), baking at too high a temperature, and cooling too quickly. Follow my recipe carefully: mix on low speed after adding eggs, use a water bath, and let the cheesecake cool slowly in the oven with the door cracked open for an hour. Also, make sure all your ingredients are at room temperature to ensure a smooth batter. If a small crack does appear, don’t worry—you can easily cover it with a dusting of cocoa powder or whipped cream.
What is the best espresso to use for cheesecake?
I recommend a medium-roast espresso with chocolate or nutty notes—it blends beautifully with the cream cheese. Avoid dark roasts that can taste burnt or overly bitter. If you don’t have an espresso machine, instant espresso powder is an excellent alternative. My go-to is Medaglia d’Oro or Starbucks Via Italian Roast. For a stronger coffee flavor, dissolve 1 tablespoon of instant espresso in 2 tablespoons of hot water; for a milder flavor, use just 1 ½ teaspoons. Freshly brewed espresso from your local roaster is always the gold standard.
Can I freeze espresso cheesecake?
Absolutely! In fact, I often freeze individual slices for a quick dessert. To freeze, let the cheesecake cool completely and chill in the refrigerator for at least 4 hours. Then wrap it tightly in plastic wrap, followed by a layer of aluminum foil, or place slices in a freezer-safe container. It will keep for up to 3 months. When you’re ready to enjoy, thaw the cheesecake overnight in the refrigerator. Do not thaw at room temperature, as condensation can make the crust soggy. The texture after freezing is nearly identical to fresh.
What can I use instead of cream cheese for espresso cheesecake?
If you’re looking for a lighter option, you can substitute Neufchâtel cheese (which has less fat) or even part-skim ricotta blended smooth. However, the texture will be less creamy and more dense. For a dairy-free alternative, use a vegan cream cheese like Miyoko’s or Kite Hill, and replace the mascarpone with full-fat coconut cream. Keep in mind that vegan cheesecakes tend to set faster, so check for doneness earlier. If you want a tangier flavor, Greek yogurt can replace part of the cream cheese—use a 1:1 swap but note the texture will be looser.
Why did my espresso cheesecake sink in the middle?
A sunken center is usually a sign of underbaking or a sudden temperature change. Cheesecakes need to set slowly; if you open the oven door too often during baking, the temperature drops and the center can collapse. Also, if the cheesecake is underbaked—the center still very jiggly—it may fall as it cools. My rule of thumb: the edges should be set and the center should wobble like Jell-O when you gently shake the pan. After baking, cool it in the oven with the door ajar to avoid thermal shock. If it still sinks, it will still taste delicious—just cover with a generous topping.
Can I use decaf espresso in this cheesecake recipe?
Yes, decaf espresso works perfectly. The flavor profile is very similar to regular espresso, though sometimes slightly less bold. I recommend using a high-quality decaf espresso or instant decaf espresso powder. Since the coffee flavor is a key component of this Decadent Espresso Cheesecake, you want to ensure it’s still robust. If using brewed decaf espresso, pull a double shot to concentrate the flavor. The water bath and other techniques remain the same. This is a great option for serving to guests who are sensitive to caffeine or for an evening dessert.
How long does espresso cheesecake last in the refrigerator?
Properly stored, this espresso cheesecake will keep in the refrigerator for up to 5 days. Make sure it’s covered with plastic wrap or stored in an airtight container to prevent it from absorbing odors from other foods. I’ve found that the flavor actually improves after the first day as the espresso infuses the cream cheese. For the best texture, let the cheesecake sit at room temperature for about 15 minutes before serving. If you notice any condensation on the surface, blot it gently with a paper towel. Always use clean utensils when cutting to maintain freshness.
Share Your Version!
I would absolutely love to hear how your Decadent Espresso Cheesecake turns out! Leave a star rating and a comment below—tell me if you added a twist, what you served it with, or if it reminded you of a favorite coffee shop. Tag me on Instagram @cosycookery when you post your photo; I always share my favorites in my stories. And if you’re wondering whether the water bath is worth the fuss—I promise you, once you taste that silky, crack-free slice, you’ll never go back.
From my NYC kitchen to yours — I hope this recipe brings as much warmth to your table as it does to mine. — Olga 🧡
Love This Recipe? Save It to Pinterest!
If you enjoyed this Decadent Espresso Cheesecake recipe, don’t let it get lost in your browser tabs! 😄 Pin it now so you can find it again anytime — and explore hundreds more tried-and-tested recipes waiting for you on my Pinterest boards.
👉 Follow Olga on Pinterest @cosycookery
📌 Pin this recipe · 🔁 Re-pin your favorites · 💬 Tag me when you make it — I love seeing your creations!
DECADENT ESPRESSO CHEESECAKE RECIPE FOR COFFEE LOVERS
- Total Time: 7 hours 30 minutes
- Yield: 12 servings
Description
There is something magical about the aroma of freshly brewed espresso drifting through the kitchen. It has a way of slowing down busy mornings and turning ordinary afternoons into cherished moments. Espresso Cheesecake captures that same comforting feeling in every creamy, indulgent slice. Rich, velvety, and infused with bold coffee flavor, this dessert is a dream come true for coffee lovers who enjoy ending a meal with something truly special. Cheesecake has long been a centerpiece for celebrations, family gatherings, and holiday tables, while espresso has become a beloved ritual in cafés and homes around the world. Bringing these two favorites together creates a dessert that feels elegant enough for entertaining yet simple enough to make for a cozy weekend at home. The buttery chocolate cookie crust perfectly complements the smooth espresso filling, while each bite delivers the ideal balance of sweetness and robust coffee flavor. Whether you’re serving it after a dinner party, celebrating a birthday, or simply treating yourself to a homemade dessert, this Espresso Cheesecake is sure to impress everyone who takes a bite.
Ingredients
- Make-ahead friendly for stress-free entertaining.
- Beautiful enough to serve at any celebration.
Instructions
- STEP 2: PREPARE THE ESPRESSO Dissolve the instant espresso powder in the hot water. Let it cool for a few
minutes. - STEP 3: MAKE THE FILLING In a large mixing bowl, beat the softened cream cheese until smooth. Gradually add the sugar and continue mixing until creamy. Beat in the eggs one at a time, mixing just until incorporated. Add the sour cream, vanilla extract, dissolved espresso, flour, and salt. Mix
until the filling is smooth and silky. - STEP 4: BAKE Pour the filling over the prepared crust and smooth the top. Place the cheesecake in the oven and bake for 55–65 minutes, until the edges are
set and the center still has a slight jiggle. Turn off the oven, crack the door open slightly, and let the cheesecake cool
inside for 1 hour. - STEP 5: CHILL Transfer the cheesecake to the refrigerator and chill for at least 6 hours,
preferably overnight. - STEP 6: DECORATE AND SERVE Top with whipped cream, chocolate curls, a dusting of cocoa powder, or
chocolate-covered espresso beans before slicing and serving.
Notes
Instant espresso powder provides the richest coffee flavor.
Full-fat cream cheese and sour cream create the creamiest texture.
The cheesecake can be prepared one or two days ahead of serving.
Store toppings separately if preparing in advance.
2 cups chocolate cookie crumbs
6 tablespoons unsalted butter, melted
2 tablespoons granulated sugar
24 ounces (680 g) cream cheese, softened
1 cup granulated sugar
3 large eggs
1 cup sour cream
1 teaspoon vanilla extract
2 tablespoons instant espresso powder
2 tablespoons hot water
1 tablespoon all-purpose flour
¼ teaspoon salt
Whipped cream
Chocolate curls
Cocoa powder
Chocolate-covered espresso beans
Use room-temperature cream cheese for the smoothest filling.
Avoid overmixing after adding the eggs to help prevent cracks.
Chill overnight for the best texture and flavor.
Wipe the knife clean between slices for neat presentation.
A water bath can help create an even creamier cheesecake and reduce cracking.
- Prep Time: 25 minutes
- Cook Time: 1 hour 5 minutes
Nutrition
- Calories: 485
- Sugar: 24 g
- Fat: 36 g
- Carbohydrates: 33 g
- Protein: 7 g